
Epoxy Color Sand
Epoxy Flooring Cost per Square Metre: How to Calculate
Epoxy flooring cost per square metre depends on coverage, thickness, and delivery. Learn the calculation step by step, with worked example figures.
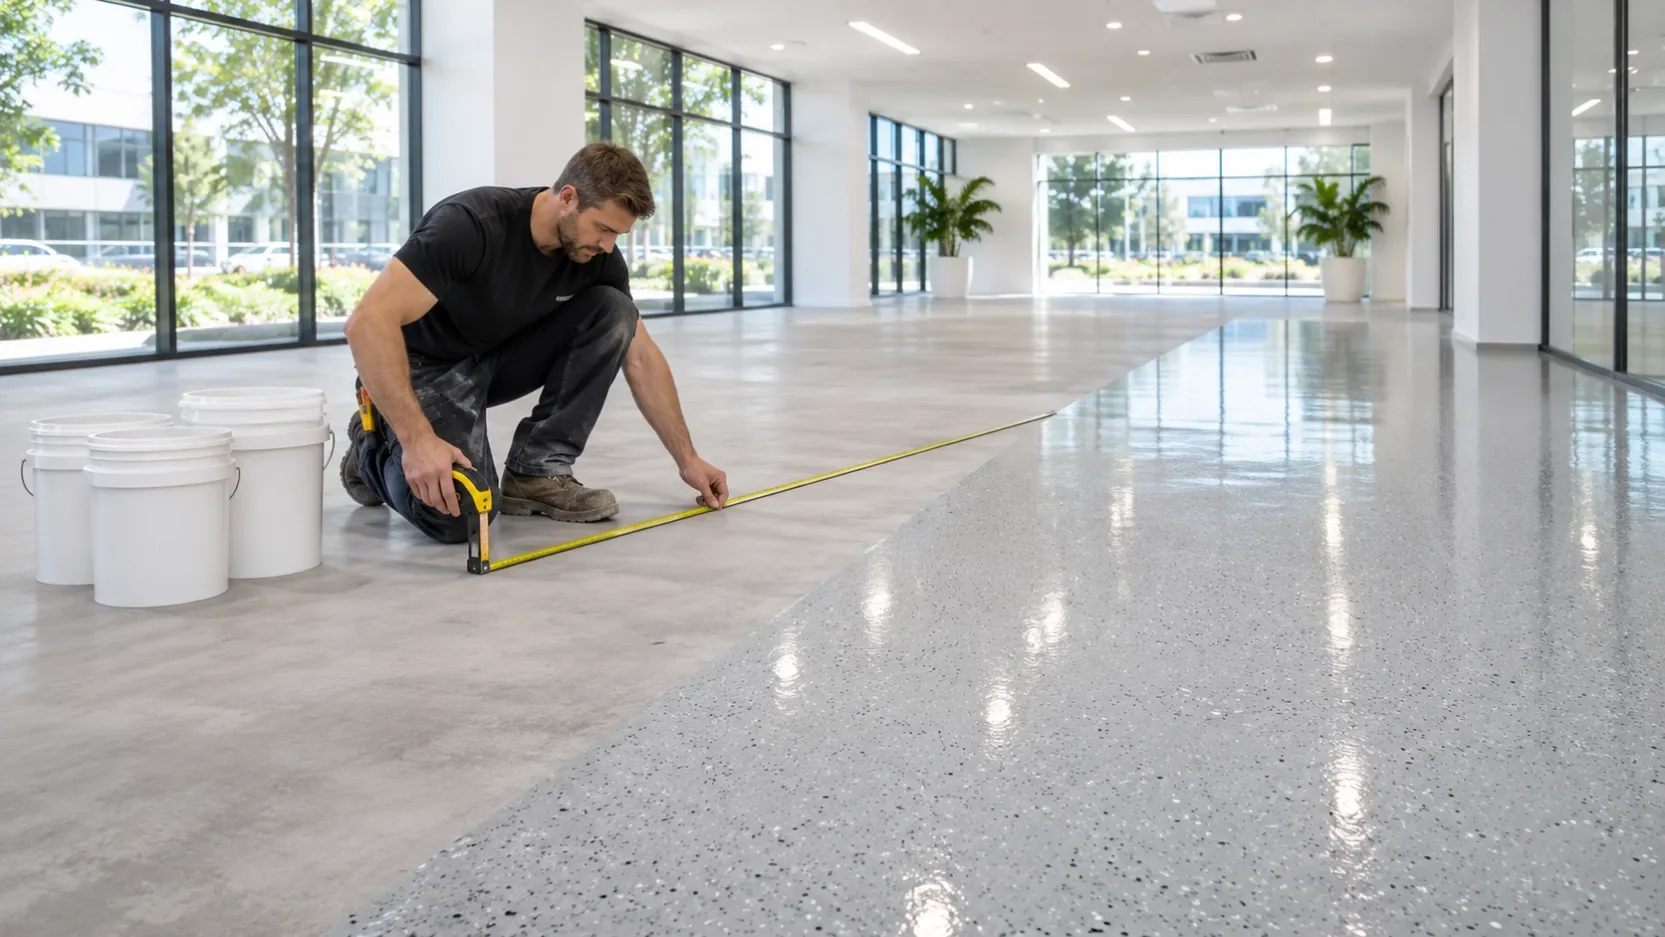
Epoxy flooring cost per square metre is the number that actually matters when you compare suppliers — but it is also the number most often quoted wrong, because it depends on coverage, thickness, preparation, and delivery, not just the price of a bucket. This guide teaches the calculation step by step. Every money figure in this article is a clearly-marked example figure for teaching the method — not a JUKE price. For an exact price on your quantities, request a factory quote.
The formula in one line
Material cost per square metre = set price ÷ coverage per set.
That is the whole method. Everything else in this guide is about getting the two inputs right: what a set actually covers on your floor, and what else must be added on top of the material — preparation, primer, delivery, and duties. Get the inputs right and the comparison between suppliers becomes honest; get them wrong and the cheapest quote on paper becomes the expensive floor in practice.
Step 1: know the coverage
One JUKE 20 kg set of epoxy colored sand self-leveling covers approximately 10 m² at 1.5–2.0 mm thickness, or about 2 kg/m². That coverage figure is the denominator of the whole calculation, so it deserves attention.
Actual consumption varies with substrate flatness, surface condition, technique, and material loss. A flat, well-prepared floor will match the published coverage closely; a rough or uneven floor will use more material per square metre. The TDS recommends confirming coverage with a representative site trial — on a real job, that trial is what turns the published figure into your figure.
When a supplier quotes you, ask how its coverage figure was measured and at what thickness. A coverage claim without a thickness is meaningless: the same set covers more area when spread thinner, and less when spread thicker.
Step 2: thickness changes the number
Thickness and coverage move together. At the specified 1.5–2.0 mm build, one set covers ~10 m². If the floor is specified thicker, each set covers fewer square metres and the material cost per square metre rises. If it is spread thinner than specified, the cost per square metre falls — but so does the performance, and the TDS performance figures (compressive strength, hardness, water resistance) are declared for the specified thickness.
This is why comparing two suppliers by set price alone is misleading. Supplier A and Supplier B can quote the same set price and produce very different costs per square metre if their coverage figures differ — and the supplier with the higher set price can still be the cheaper floor per square metre, as the worked example below shows.
Rule: always compare quotes at the same thickness and the same coverage basis.
Step 3: add a wastage allowance
Never order exactly the calculated quantity. Add a few extra sets above the calculated number as an allowance for cutting, edges, uneven areas, and normal material loss. Running short mid-floor is far more expensive than a spare set or two: a second delivery costs more than the material, and a color or batch change halfway across a floor can show.
A practical approach: calculate the baseline (area ÷ coverage per set), then add roughly 5–10% depending on the shape of the area and the condition of the substrate. Irregular rooms with many edges need more allowance than a clean rectangular warehouse bay.
Worked example: a 200 m² floor
All figures in this example are examples only, for teaching the calculation — not JUKE prices.
- Floor area: 200 m².
- Coverage: one set covers ~10 m² (example basis: the published JUKE figure).
- Baseline sets: 200 ÷ 10 = 20 sets.
- With allowance: plan 22 sets (20 + 2 extra).
- Example set price: $72 per set (example figure).
- Example material total: 22 × $72 = $1,584 (example figure).
- Example material cost per square metre: $1,584 ÷ 200 = $7.92 per m² (example figure).
Change any input and the answer moves: a smaller coverage figure, a larger allowance, or a different set price all change the per-square-metre result. That is the point of the exercise — the method is fixed, the inputs are yours.
Worked example: comparing two offers
This is the comparison that catches buyers out. Again, all figures are examples only.
- Offer A (example): set price $72 (example), coverage 6 m² per set (example). Example cost per square metre: $72 ÷ 6 = $12 per m².
- Offer B (example): set price $80 (example), coverage 10 m² per set (example). Example cost per square metre: $80 ÷ 10 = $8 per m².
Offer B has the higher set price but the lower material cost per square metre — $8 versus $12 (both example figures). A buyer comparing set prices alone would choose Offer A and pay 50% more per square metre of finished floor. Always divide by coverage before you decide.
What the per-m² figure does NOT include
The material cost per square metre is only one part of the finished floor cost. It does not include:
- Substrate preparation — grinding, repair, and leveling, which vary with the condition of the existing floor. Concrete floors over 200 m² follow the standard route: grind to a sound base, repair, and prime.
- Sealing primer — required on concrete (the no-primer rule applies to sound existing tiles only). Primer is a separate two-part product at a 3:1 ratio.
- Labor — installation cost varies by market, crew, and project size, and is quoted locally.
- Freight and delivery — JUKE quotes CIF to the destination port by default, which includes ocean freight and insurance to the port; customs clearance, port charges, and inland delivery beyond the port are separate.
- Duties and taxes — these depend on the destination country and the shipment value; your broker quotes them.
- Topcoat, if needed — standard indoor use needs no additional topcoat, but outdoor or sun-exposed areas need a compatible UV-protective topcoat.
Get each of these quoted separately so the total project cost is visible before you commit.
How to compare supplier quotes fairly
Use this checklist on every quote:
- Same thickness. Compare all quotes at 1.5–2.0 mm, or whatever your specification states.
- Same coverage basis. Divide every set price by its coverage to get cost per square metre.
- Same trade terms. A CIF quote includes ocean freight and insurance to your port; an EXW quote includes no freight at all. Add freight before comparing.
- Same scope. Check whether primer, documents (TDS, SDS), and packaging are included.
- TDS behind the numbers. A quote without a TDS is a price without a product. Check the solids content, VOC, compressive strength, hardness, and cure times behind the price.
Because JUKE is a factory, pricing is quoted per order — it depends on volume, colors, packaging, and destination. Request a factory quote with your area and destination, and the price will be exact.
FAQ
How many square metres does one set cover?
Approximately 10 m² at 1.5–2.0 mm thickness, or about 2 kg/m². Actual coverage varies with substrate condition and technique — confirm with a site trial.
Why do two quotes differ per square metre?
Usually coverage, thickness, or trade terms. A higher set price can still mean a lower cost per square metre if the coverage is better. Divide set price by coverage before comparing.
Does the cost per square metre include installation?
No. The figures in this guide are material cost only. Preparation, primer, labor, freight, and duties are quoted separately.
How many sets do I need for 100 m²?
Baseline: 100 ÷ 10 = 10 sets. Add a few extra sets as a wastage allowance. The minimum order is 48 sets (one pallet), with mixed colors allowed.
Can I get an exact price for my project?
Yes — request a factory quote with your floor area, colors, and destination port, and JUKE will price it exactly for your quantities.
Next step
Work out your floor area, confirm the thickness you need, and run the calculation above with your own inputs. Then request a factory quote — with the area and destination included — so the price you receive is the price for your project, not a generic figure.