
Oct 29, 2026Epoxy Color Sand
Epoxy Floor Bubbles or Won't Cure: Causes and Fixes
Diagnose epoxy bubbles and soft spots: moisture, outgassing, mixing ratio and temperature. Includes repair steps and how to prevent a repeat.
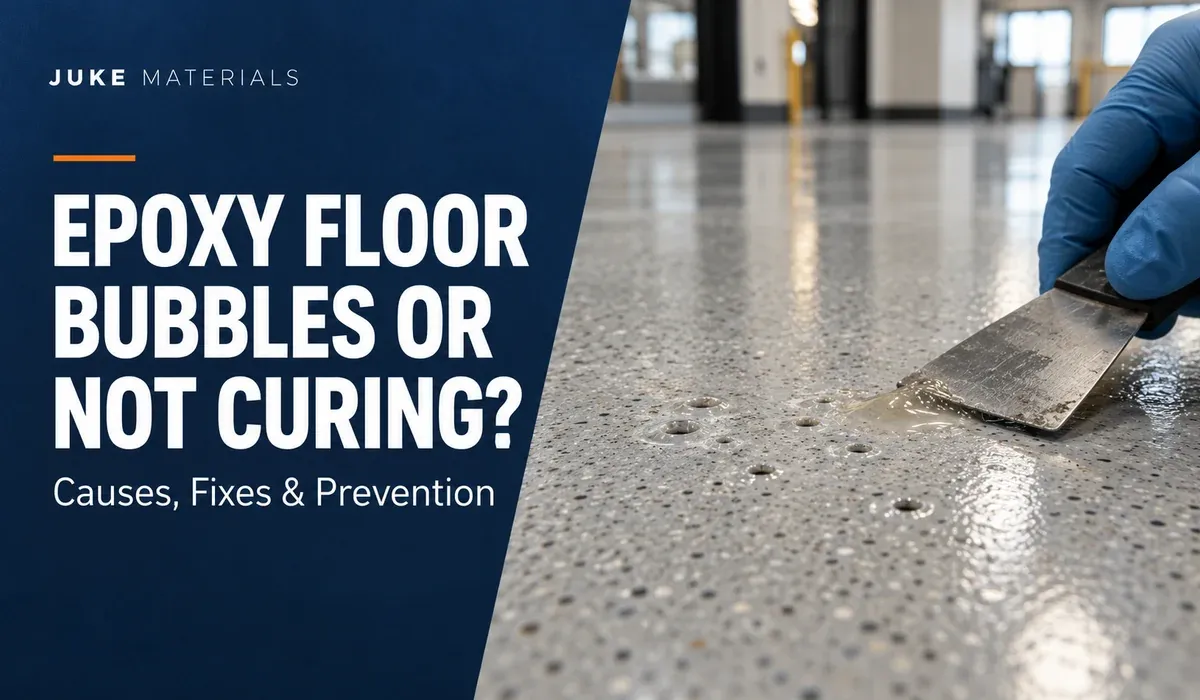
Quick answer: Bubbles in an epoxy floor usually come from moisture vapor, outgassing from a porous slab, or air entrained during mixing. Most tacky or soft floors come from a wrong mix ratio, incomplete mixing, expired hardener, or cold conditions. The timing and pattern of the defect tell you which cause to check first.
Diagnose by timing and pattern
What you see — likely cause — first check
- Large domes days or weeks later, often with liquid inside — Moisture vapor. Check: Substrate moisture; vapor barrier.
- Clustered pinholes with raised rims — Outgassing from the slab. Check: Primer coverage; slab temperature.
- Fine, uniform bubbles across one batch — Entrained air. Check: Mixing method; paddle depth.
- Round, dish-shaped craters (fisheyes) — Contamination. Check: Cleaning and degreasing record.
- Whole batch tacky or soft — Ratio, mixing, or hardener. Check: Kit ratio; mixing record; hardener date.
- Patchy tacky or soft areas — Mixing, thickness, or cold slab. Check: Temperature; film thickness.
Epoxy floor bubbling that appears while the material is still gelling is usually an application problem. Domes that appear days or weeks later are usually moisture. A whole batch that never hardens is a chemistry or mixing problem.
Bubbles, pinholes, and blisters
Moisture vapor
Concrete releases water vapor for months. Epoxy is a low-permeance film, so vapor trapped underneath lifts the coating and forms domes — weeks later. Test substrate moisture before installation with a calibrated meter; on critical projects, use ASTM F2170 or F1869. JUKE's published limit is 8%; the TDS prevails. A standard primer is not a moisture barrier. If moisture exceeds the limit, use a dedicated mitigation system.
Outgassing
Concrete pores and bugholes hold air. A warming slab pushes that air through the wet film, leaving clustered pinholes with raised rims. It is common on new or shot-blasted concrete, porous slabs, and floors applied in direct sun. Seal or prime porous concrete where required, fill bugholes, work on a stable or cooling slab, and use a spike roller.
Entrained air
Fine, uniform bubbles across one batch usually come from the bucket. Air enters when the paddle is lifted, the batch is too small for the pail, or mixing runs too long. Follow the mixing guide: keep the paddle submerged, scrape the sides and bottom, and mix at least three minutes until uniform. A defoaming or spike roller helps at the surface but cannot fix an aerated batch.
Contamination, thickness, and primer
Craters or fisheyes point to silicone, oil, grease, wax, or detergent. A water-drop test can reveal contamination. Degrease before grinding. A thick pour traps air and generates heat; apply within the specified thickness and plan sections. Primer mistakes mimic substrate problems. Sound, dense, clean, dry tiles can be coated without a separate primer, but glazed or contaminated tiles still need mechanical abrasion. Concrete needs grinding and a compatible sealing primer. "No separate primer" does not mean "no preparation."
Tacky, soft, or uncured floors
Ratio and mixing
Epoxy cures by chemical reaction, not drying. JUKE's current system is 8:1 (A:B). Use the complete Part B with Part A; if dividing a set, measure both parts accurately — never estimate by volume or height. Hand stirring is not enough. Mix with a clean, dry paddle through the center, sides, corners, and bottom for at least three minutes. Water or contamination from dirty tools can ruin the batch.
Temperature and working time
Apply at approximately 5–35°C (41–95°F) and RH ≤85%. Cold slows or stalls cure; heat shortens working time. Measure the slab, not just the air, and avoid condensation. Once mixed, place the material within about 20 minutes for the current system; hot sites shorten that window. A large batch left in the bucket heats up and cures faster. Mix only what can be placed in time and keep the bucket out of direct sun.
Expired or mismatched components
Hardener has a shelf life, and heat, freezing, or air exposure can degrade it. Never substitute a hardener from another product. Never add water, cement, sand, thinner, pigment, or another product to adjust consistency or extend coverage. If the material feels wrong, check temperature and mixing first.
Repair
Uncured material cannot be fixed with more hardener, solvent, or a fresh coat. Remove it mechanically to sound material and correct the cause. For a small patch, feather the edges, clean, vacuum, and test-patch with the correct ratio. For a large area or whole batch, remove and replace.
A repair sequence that holds
- Stop and document. Photograph the defect; record the area, batch, date, ratio, temperature, and time from mixing to placement.
- Classify. Wet-stage defects point to application; late blisters to moisture; whole-batch tackiness to chemistry.
- Test the substrate. Check moisture, contamination, adhesion, hollow tiles, and cracks.
- Remove and correct. Grind or scrape back to sound material; fix the cause.
- Test, recoat, verify. Test-patch first, then rebuild and confirm cure before service.
Prevention checklist
Phase — check
- Substrate: Sound, clean, dry; moisture ≤8%; repair hollow tiles, cracks, and bugholes
- Conditions: 5–35°C (41–95°F); RH ≤85%; stable or cooling slab; no condensation
- Mixing: Complete kit; 8:1; at least three minutes; clean, dry tools
- Primer: None on sound, dense tile; sealing primer on concrete; abrade glazed or contaminated tiles
- Application: 1.5–2.0 mm film; spike or defoaming roller; plan sections; place within 20 minutes
- Curing: Protect from water and traffic; follow the cure schedule; UV-stable topcoat outdoors
- Records: Batch number, ratio, temperatures, moisture readings, and photos
Performance data (manufacturer TDS)
JUKE's published TDS lists:
- Compressive strength: ≥80 MPa
- Surface hardness: Mohs 8
- Solids content: ~98%
- VOC: 16 g/L
- Water impermeability: 0.4 MPa / 2 h
- Wear resistance: ≤0.01 g / 1000 cycles
Source: JUKE TDS; confirm the current batch report.
For distributors: a 10-minute triage
Before warranty, ask five questions: What do you see? When did it appear? Which batch? How was it mixed? What were the substrate and site conditions?
One batch affected points to mixing; a whole floor later to moisture; clustered pinholes to outgassing; craters to contamination. Escalate with batch, photos, records, and moisture readings. Do not promise warranty before evidence.
FAQ
Why does my epoxy floor have bubbles right after application?
Fresh bubbles usually come from air released by the concrete (outgassing) or air entrained during mixing. Clustered pinholes with raised rims suggest outgassing; fine uniform bubbles across one batch suggest mixing. Moisture blisters tend to appear later as larger domes, sometimes with liquid inside.
How do you fix bubbles in epoxy floors?
Small, isolated pinholes can be sanded back, filled, and recoated. Widespread outgassing, large blisters, or any blister with liquid inside usually requires removing the affected area and correcting the substrate or moisture.
Why is my epoxy still tacky after 24 hours?
The most common causes are a wrong mix ratio, incomplete mixing, expired hardener, or temperature below the range. If only the surface is tacky, check the primer cure; if the material underneath is soft, remove and redo it — do not coat over uncured epoxy.
Does primer prevent bubbles?
Primer helps seal porous concrete and reduce outgassing, but it is not a guarantee against bubbles and not a moisture barrier. Sound, dense tile may not need a separate primer; concrete usually does. If moisture exceeds the system limit, use a dedicated mitigation plan.
Need help diagnosing a floor?
Send the area, substrate type and condition, air and slab temperature, product batch, application date, and photos through Contact Us or email sales@jukematerials.com. Our technical team can help you decide whether to repair locally or rebuild. Distributors can also ask for samples and contractor support.