
Aug 31, 2026Epoxy Color Sand
How to Prepare Tile Floors for Epoxy Color Sand
Learn how to inspect, clean, grind, repair, and prepare existing tile floors before applying epoxy color sand without demolition.
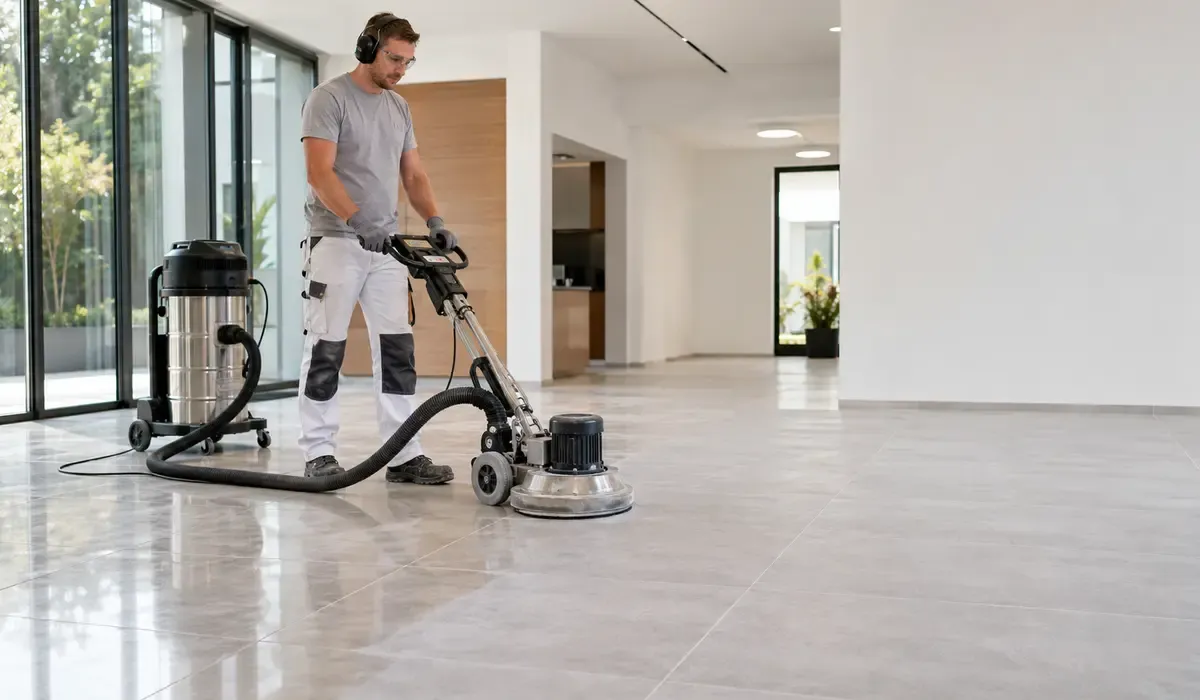
How to Prepare Tile Floors for Epoxy Color Sand
Epoxy color sand flooring can be applied directly over suitable existing tiles without demolition. This reduces dust, construction waste, noise, and renovation time compared with removing the complete tiled floor.
However, zero demolition does not mean zero preparation. Loose tiles, contamination, moisture, damaged joints, or a smooth glazed surface can reduce adhesion.
Before applying JUKE Epoxy Color Sand Self-Leveling, the tiles must be stable, clean, dry, mechanically prepared, and reasonably even.
Quick Preparation Checklist
- Inspect the entire tiled floor.
- Identify loose, hollow, cracked, or moving tiles.
- Remove oil, wax, soap, silicone, and other contaminants.
- Mechanically abrade the smooth tile surface.
- Repair damaged tiles, cracks, deep joints, and large low areas.
- Vacuum away all grinding dust.
- Confirm that the floor and repairs are completely dry.
- Protect walls, drains, doors, and adjacent surfaces.
- Plan the mixing and application route before opening the material.
On suitable dense, non-porous tiles, JUKE can be installed without a separate primer. The preparation steps must still be completed correctly.
Can Every Tile Floor Be Coated Directly?
No. The existing floor must first provide a reliable substrate.
Suitable tiled floors are generally:
- Firmly bonded and structurally stable
- Clean and free from oil or wax
- Dry and free from condensation
- Mechanically abraded
- Reasonably flat
- Free from active movement
Loose tiles, active cracks, unstable repairs, rising moisture, large height differences, or contamination that cannot be removed must be corrected before application.
Epoxy color sand forms a continuous surface, but it cannot stabilize an unsound floor underneath. Movement in the old tiles may eventually transfer through the new flooring.
Step 1: Inspect the Tiles
Check the complete floor for broken tiles, missing grout, raised edges, cracks, stains, previous repairs, silicone, and changes in floor level.
Pay particular attention to doorways, drains, wall edges, columns, pipe penetrations, equipment locations, and transitions between tile and concrete.
Tiles should also be checked for movement or poor bonding. Loose or unstable areas should not be covered without correction.
Step 2: Remove Contamination
Existing tiles may contain oil, grease, wax, soap residue, polish, sealers, adhesive, or silicone. Kitchens, bathrooms, and workshops require careful degreasing.
Use a suitable cleaning method. Remove all cleaning residue and allow the floor to dry before grinding.
Do not rely on grinding alone to remove oil. Grinding a contaminated surface can spread the oil instead of eliminating it.
Step 3: Mechanically Abrade the Surface
Ceramic and porcelain tiles often have a smooth or glazed finish. This surface resists dirt and water but provides limited mechanical grip for a new flooring layer.
Use suitable professional equipment to remove the gloss and create a consistent surface profile. Treat edges and corners that the main grinder cannot reach.
The purpose is to prepare the surface, not to break or demolish the tiles. Avoid excessively aggressive grinding that creates unnecessary damage or deep grooves.
Random scratches on an otherwise glossy floor are not the same as a consistently prepared surface.
Step 4: Repair Unstable and Uneven Areas
Loose or severely damaged tiles must be corrected before application. Depending on their condition, affected tiles may need to be removed and the areas filled with a compatible repair material.
Do not simply pour epoxy color sand over:
- Moving tiles
- Active cracks
- Deep holes
- Raised tile edges
- Loose adhesive
- Weak repairs
- Large depressions
Deep, damaged, or missing grout joints should also be filled and leveled. If left untreated, they may consume additional material, trap air, affect coverage, or remain visible through the finished surface.
Self-leveling reduces minor spreading marks. It does not automatically repair major height differences or structural movement.
Existing expansion and movement joints should remain functional according to the project design. They should not be treated as ordinary grout joints.
Step 5: Remove All Dust
After grinding and repairs, use an industrial vacuum to remove dust from the tiles, joints, corners, wall edges, drains, and repair areas.
Do not use a household broom as the final cleaning method. Sweeping can redistribute fine dust rather than remove it.
Inspect the surface under good lighting. A clean cloth or gloved hand can help confirm whether loose dust remains. Do not begin mixing while cleaning work is still underway.
Step 6: Confirm the Floor Is Dry
The tile surface, grout joints, and repaired areas must be completely dry before application. Surface water, condensation, leakage, or incompletely cured repairs can affect adhesion and appearance.
The JUKE TDS specifies an application temperature of 5°C–35°C and relative humidity of no more than 85%. Condensation must be prevented during application and initial curing.
A dry surface does not prove that there is no moisture problem below the tiles. Suspected rising moisture or active leakage should be investigated and corrected before installation.
Step 7: Protect the Area and Plan the Workflow
Protect walls, doors, drains, cabinets, equipment bases, and adjacent floors before mixing the product. Define clean application boundaries without blocking required drainage or movement details.
Plan where installers will enter, work, and leave. Installers should remain on the uncoated floor and use a suitable notched trowel or long-handled spreading tool. They should not kneel or stand in the wet material.
Measure the floor and prepare enough material for the complete visible area. A 20 kg JUKE set covers approximately 10 m². Actual consumption depends on floor flatness, joint depth, surface profile, application thickness, and installation loss.
The current recommended application thickness is 1.0–2.0 mm, with an allowable deviation of ±0.2 mm.
Is a Primer Required Over Tiles?
A separate primer is not required on suitable dense, non-porous tiles when they are firmly bonded, degreased, mechanically abraded, clean, and dry.
This is one of the main advantages of the JUKE direct-to-tile system. However, no primer does not mean no preparation. Grinding, repairs, dust removal, and moisture control remain essential.
Mixed substrates, extensive repair areas, unidentified coatings, or unusual tiles should be evaluated before full application. A small adhesion test area is recommended when substrate compatibility is uncertain.
Applying Epoxy Color Sand After Preparation
Once the floor passes final inspection, combine the complete factory-matched Part A and Part B. Mix mechanically until the color, texture, and fluidity are uniform, then begin application without unnecessary delay.
Spread the material evenly with a suitable notched trowel or long-handled tool. Self-leveling occurs after the material has been correctly distributed; it does not eliminate the spreading step.
Protect the finished floor during curing. Under suitable conditions, the TDS lists a surface-dry time of approximately 4–6 hours, a hard-dry time of approximately 24 hours, light pedestrian traffic after 48 hours, and vehicle traffic after 72 hours.
Common Preparation Mistakes
Common causes of failure include coating loose tiles, leaving glossy areas or grinding dust, ignoring oil contamination, filling movement joints, and expecting self-leveling material to repair major substrate defects. Complete all cleaning, repairs, masking, and workflow planning before mixing Part A and Part B.
Frequently Asked Questions
Can epoxy color sand cover tile grout lines?
Yes. Stable shallow joints can be covered, but deep, damaged, or missing joints should be filled and leveled first.
Must all existing tiles be removed?
No. Firmly bonded and properly prepared tiles can remain in place.
Is grinding required?
Smooth or glazed tiles should be mechanically abraded to remove gloss and create a suitable surface profile.
Can the system be applied without a primer?
Yes, on suitable dense, non-porous tiles after correct preparation.
Does self-leveling make an uneven floor perfectly flat?
No. Major substrate defects and height differences must be repaired first.
Preparation Determines the Final Result
Direct-to-tile application can make floor renovation faster and cleaner, but the existing tiles must first become a stable and properly prepared substrate.
The correct process is to inspect, degrease, abrade, repair, vacuum, dry, and protect the floor before mixing the product.
When these steps are completed correctly, JUKE Epoxy Color Sand Self-Leveling can create a seamless new floor with zero demolition, direct-to-tile application, no separate primer, and approximately 10 m² of coverage from a 20 kg set.
Distributors, tile suppliers, building material wholesalers, contractors, and private-label sellers can request samples, technical documents, OEM packaging, factory-direct pricing, application videos, and marketing support.