
Sep 16, 2026Technical & Installation
How Long Does Epoxy Color Sand Flooring Take to Cure?
Learn how long epoxy color sand flooring takes to cure, when it can handle foot and vehicle traffic, and how temperature, humidity, moisture, and mixing affect curing.
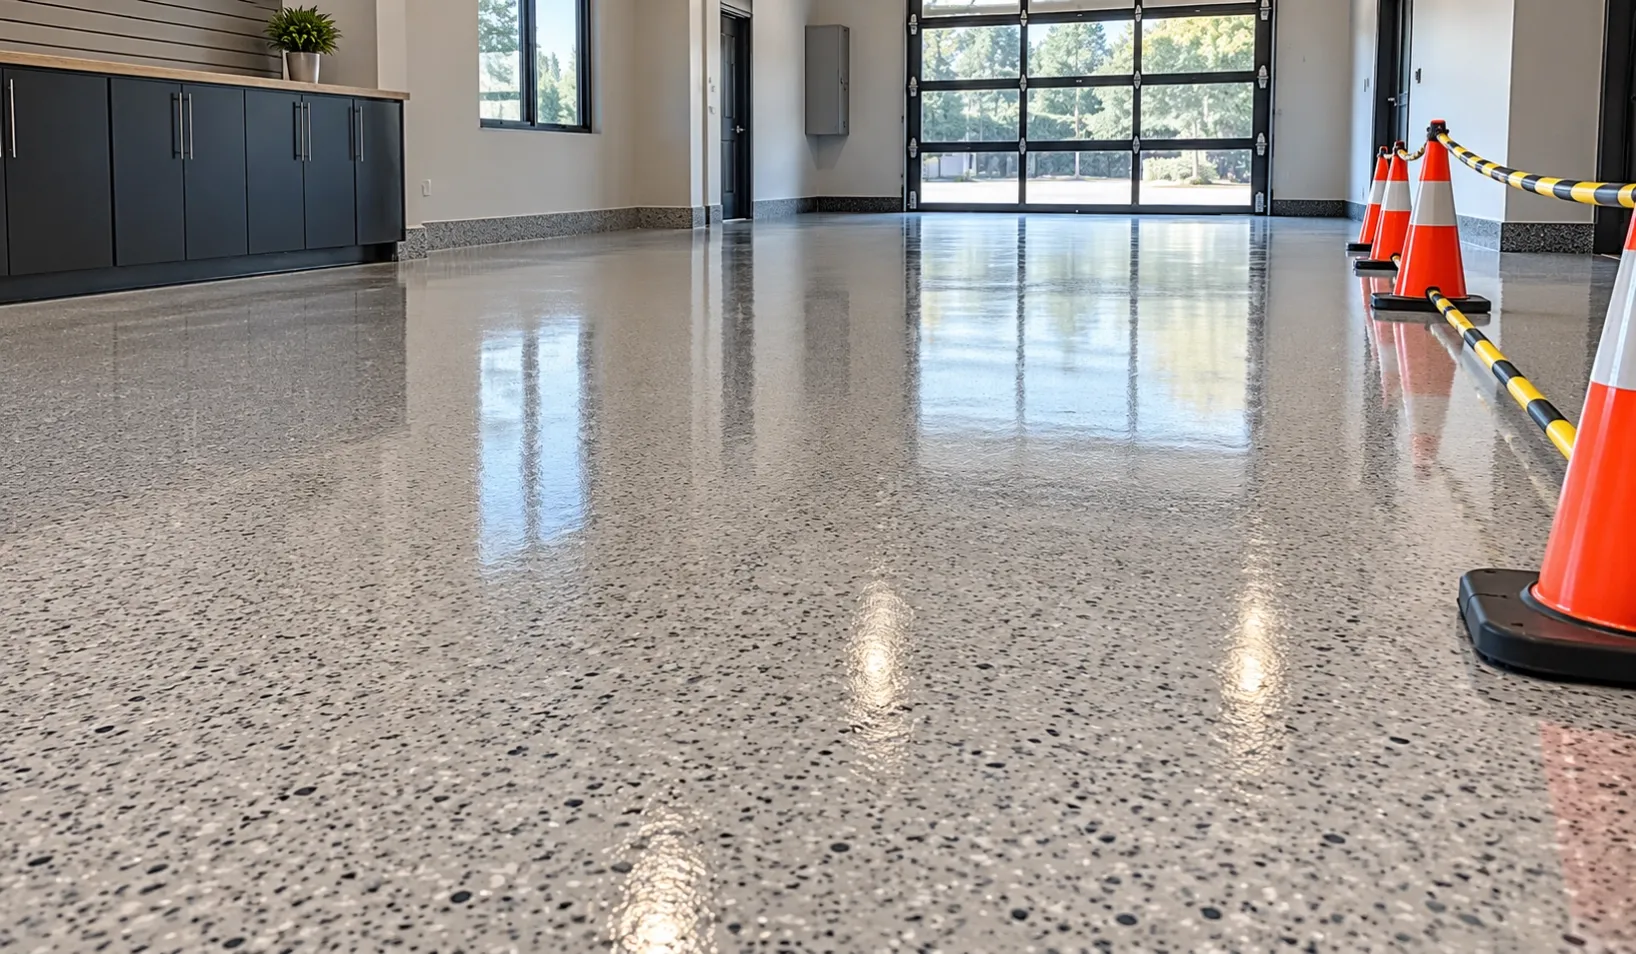
How Long Does Epoxy Color Sand Flooring Take to Cure?
Curing time is one of the most important questions when planning an epoxy flooring project.
A floor may look dry only a few hours after application, but that does not mean it is ready for walking, heavy equipment, or vehicles.
- 4–6 hours: surface dry
- 24 hours: hard dry
- 48 hours: light pedestrian traffic
- 72 hours: vehicle traffic
Understanding the difference between these stages helps contractors and property owners protect the new floor and avoid damage during the early curing period.
Surface Dry Does Not Mean Ready for Use
Epoxy begins reacting as soon as Part A and Part B are mixed.
After application, the material gradually changes from a fluid self-leveling layer into a hardened floor.
The first visible stage is surface drying.
Under suitable application conditions, JUKE Epoxy Color Sand typically becomes surface dry within approximately 4–6 hours.
At this stage, the surface may no longer appear wet or tacky.
However, the material underneath is still developing strength.
Walking on the floor too early can leave marks, disturb the surface, or affect the final appearance.
For this reason, surface dry time should not be confused with traffic-ready time.
What Does “Hard Dry in 24 Hours” Mean?
JUKE Epoxy Color Sand reaches a hard-dry stage at approximately 24 hours under normal conditions.
This means the coating has developed significantly more hardness than during the first few hours.
The area should still remain protected from unnecessary traffic.
A practical curing timeline looks like this:
0–6 hours: Initial curing
6–24 hours: Strength continues developing
24–48 hours: Floor remains protected from regular traffic
After 48 hours: Light pedestrian traffic
After 72 hours: Vehicle traffic
The safest approach is to follow the recommended traffic schedule rather than judging the floor only by how dry it looks.
When Can You Walk on Epoxy Color Sand Flooring?
Light pedestrian traffic is normally allowed after approximately 48 hours.
For residential or commercial renovation projects, this means the area should ideally remain closed during the first two days after installation.
Even after the floor becomes walkable, avoid dragging heavy furniture, equipment, or sharp objects across the surface immediately.
Early curing is an important stage in the performance of any resin flooring system.
Allowing sufficient time before normal use helps protect the final finish.
When Can Vehicles Drive on the Floor?
For garages and other vehicle areas, JUKE recommends waiting approximately 72 hours before allowing vehicle traffic.
Vehicle loads are very different from pedestrian loads.
Tires concentrate substantial pressure on relatively small contact areas, and steering while stationary can create additional stress on a newly installed floor.
That is why a floor that is suitable for walking after 48 hours should not automatically be considered ready for vehicles.
For garage renovations, plan the project so vehicles can remain outside for at least the recommended curing period.
What Affects Epoxy Curing Time?
The published curing times assume suitable installation conditions.
Actual curing speed can change depending on the environment.
Several factors are especially important.
Temperature
Temperature has a major influence on epoxy reactions.
JUKE recommends an application environment of approximately 5°C to 35°C.
In warmer conditions, the reaction generally progresses faster.
In colder conditions, curing can slow considerably.
This means a project completed in a cool garage or warehouse may require more time than the same application performed under moderate indoor conditions.
Do not assume that a floor will always follow exactly the same timeline regardless of temperature.
Humidity and Condensation
Relative humidity should be controlled during application and early curing.
High humidity and surface condensation can affect the appearance and quality of the finished flooring.
JUKE recommends keeping relative humidity at 85% or below and preventing condensation on the floor during application and initial curing.
This is especially important in:
- Basements
- Garages
- Bathrooms
- Commercial kitchens
- Warehouses
- Areas with large temperature changes
A floor may appear dry while still being exposed to moisture conditions that interfere with proper curing.
Moisture in the Substrate
The substrate itself must also be dry enough before installation.
Applying epoxy over a damp substrate can contribute to adhesion problems, bubbles, or other surface defects.
Curing time cannot compensate for improper substrate preparation.
The correct sequence is:
Inspect → Prepare → Dry → Apply → Cure
Mixing Quality
Correct mixing is another important factor.
JUKE Epoxy Color Sand is a two-component system. Part A and Part B must be thoroughly mixed before application.
Incomplete mixing can lead to areas that remain soft or cure unevenly.
The material should be mixed until the color and consistency are uniform.
A professional electric mixer is recommended for consistent results.
Poor mixing should never be “fixed” by simply waiting longer for the floor to cure.
If the two components are not properly combined, the chemical reaction may not occur correctly.
Working Time After Mixing
Curing starts inside the mixing container as soon as Part A and Part B are combined.
The mixed material therefore has a limited working time.
Under recommended conditions, the material should be applied within approximately 50 minutes.
Do not mix the product and leave it sitting in the bucket while preparing the floor.
All substrate preparation, tools, and application planning should be completed before mixing begins.
A better workflow is:
Prepare everything first → Mix → Pour → Spread
This helps maximize available working time and improves consistency across the floor.
Why You Should Not Rush the Curing Process
One of the most common installation mistakes is reopening the area too early.
A floor that looks finished may still be developing strength internally.
Premature use can lead to:
- Footprints or surface marks
- Tire impressions
- Scratches
- Uneven appearance
- Damage from moving furniture
- Contamination before curing is complete
Saving a few hours is rarely worth the risk of damaging a newly installed floor.
For contractors, clearly communicating the curing schedule to the customer before installation also helps avoid misunderstandings after the project is completed.
Typical Project Timeline
For planning purposes, a simple installation schedule might look like this:
Day 1: Preparation and Application
Inspect the substrate, repair defects, grind or clean where required, mix the material, pour, spread, and allow the floor to self-level.
After application, close the area to traffic.
Day 2: Protected Curing
The surface may already feel hard, but normal traffic should still be avoided.
Keep the area clean and protected.
Day 3: Light Pedestrian Use
After approximately 48 hours, light pedestrian traffic can normally begin if curing conditions have been suitable.
Day 4: Vehicle Use
After approximately 72 hours, vehicle traffic can normally resume.
Actual job-site conditions should always be considered before reopening the area.
Does Epoxy Color Sand Need a Topcoat Before Use?
JUKE Epoxy Color Sand Self-Leveling forms an integrated finished layer and does not normally require an additional topcoat for standard indoor applications.
This simplifies the installation process because contractors do not need to wait for a separate decorative topcoat before completing the floor.
The main curing schedule therefore relates directly to the epoxy color sand layer itself.
How Contractors Can Reduce Project Downtime
Curing time cannot be eliminated, but good project planning can reduce unnecessary downtime.
Before mixing the product:
- Complete all substrate repairs
- Remove dust and contamination
- Prepare tools in advance
- Confirm the application area
- Control temperature and humidity
- Prevent people from entering the work area
- Plan vehicle access before installation
Efficient preparation allows the application to begin immediately after mixing and helps the floor enter the curing stage as quickly as possible.
Why Curing Information Matters for Distributors
For flooring distributors and online sellers, curing time is an important part of product education.
Customers frequently ask:
When can I walk on it?
When can I move furniture back?
When can I park my car on it?
Clear instructions make the product easier to sell and reduce application errors.
JUKE supports distributors and resellers with technical guidance, application materials, marketing content, OEM options, and factory-direct supply.
Low MOQ orders start from 36 sets, allowing partners to introduce the product without committing to excessive inventory.
Final Thoughts
JUKE Epoxy Color Sand Self-Leveling follows a simple curing schedule:
4–6 hours surface dry.
24 hours hard dry.
48 hours for light pedestrian traffic.
72 hours for vehicle traffic.
But curing time depends on more than the clock.
Temperature, humidity, substrate moisture, correct mixing, and proper application all affect the final result.
The best approach is simple:
Prepare properly. Mix correctly. Apply efficiently. Give the floor enough time to cure.
Planning to add epoxy color sand flooring to your product range? Contact JUKE for samples, wholesale pricing, OEM options, and technical support.