
Sep 30, 2026Technical & Installation
Will Tile Grout Lines Show Through Epoxy Color Sand Flooring?
Learn why tile grout lines may show through epoxy color sand flooring and how inspection, joint repair, and controlled application help achieve a seamless finish.
Will Tile Grout Lines Show Through Epoxy Color Sand Flooring?
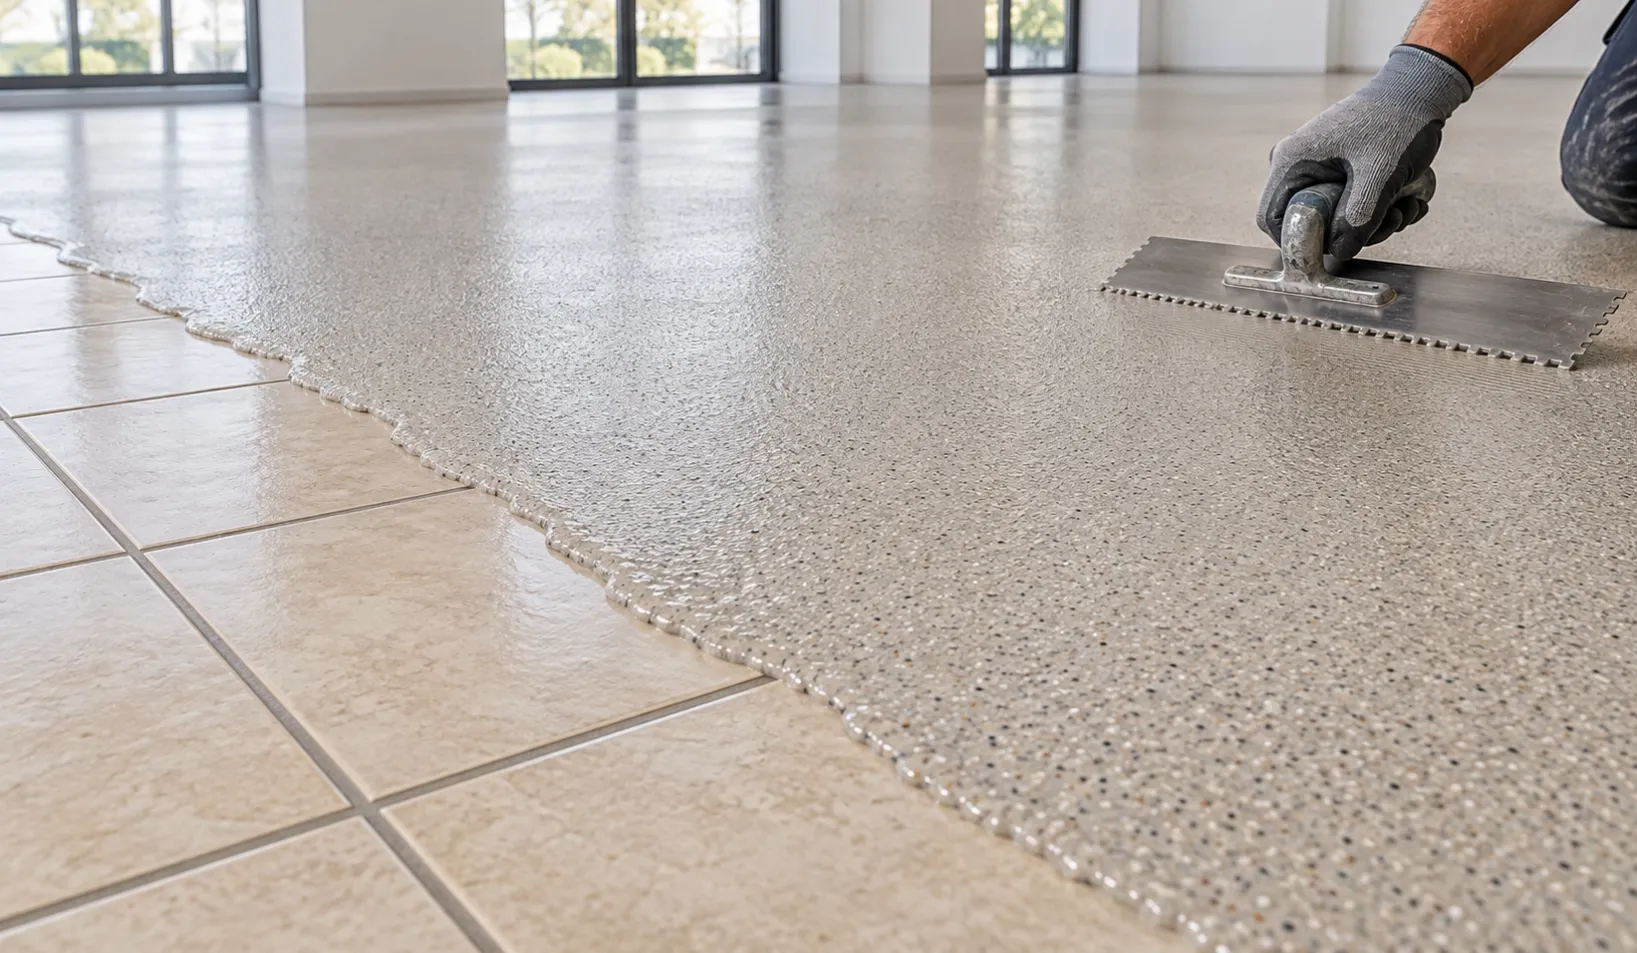
Tile grout lines can show through epoxy color sand flooring if recessed joints, damaged grout, or uneven tiles are left untreated. A seamless finish depends on a stable substrate, suitable preparation, and an even application. JUKE Epoxy Colored Sand Self-Leveling Flooring can be applied directly over suitable existing tiles without demolition, but joints and surface defects must be assessed before coating.
For distributors and tile suppliers, explaining this distinction helps customers understand what direct-to-tile renovation involves and what determines the finished appearance.
Why Can Grout Lines Remain Visible?
A tiled floor may look flat from a distance while still having recessed joints, chipped edges, or differences in height between adjacent tiles. These irregularities can affect the surface of an overlay.
There are several different issues customers may describe as “grout lines showing”:
- A shallow depression follows the original joint pattern.
- Raised tile edges remain noticeable under angled lighting.
- Cracks develop along joints where the substrate moves.
- Uneven material application produces visible surface variation.
These issues do not all have the same cause. A recessed joint needs appropriate filling, while loose tiles or movement require assessment of the underlying floor.
Adding more decorative material without identifying the cause can leave the original problem unresolved.
What Does Direct-to-Tile Application Mean?
Direct-to-tile application means suitable existing tiles can remain in place as the substrate for the new flooring system. It avoids removing sound tiles simply to change the floor’s appearance.
For JUKE, tiles must be firmly bonded, stable, clean, and dry. Suitable tile substrates generally require neither grinding nor primer.
However, these benefits do not remove the need to inspect grout joints, clean contamination, or repair defects.
A useful explanation for customers is: keep the sound tiles, prepare the surface, and repair irregularities before applying the decorative system.
For the broader installation requirements, read Can You Apply Epoxy Flooring Directly Over Existing Tile?.
Check the Existing Floor Before Coating
Tile stability
Confirm that the tiles are firmly bonded. Loose, hollow, cracked, or damaged tiles need attention before application.
An overlay follows the condition of its base. It should not be used to hold an unstable tiled floor together.
Grout condition
Inspect the joints for loose material, deterioration, contamination, and pronounced recesses. Unsound grout should be addressed rather than covered without preparation.
Firm grout that sits close to the tile surface presents a different situation from deep, damaged joints. Preparation should reflect the actual condition.
Surface flatness
Check the floor across several tiles, not just within one tile. Raised edges and local dips can remain noticeable after coating, especially in strong side lighting.
Cleanliness and dryness
Remove grease, wax, dust, and other contamination. Pay particular attention to joints, where dirt and cleaning residues may accumulate. The prepared surface must be dry before application.
Should Grout Joints Be Filled First?
Recessed joints and defects that could show through the finished surface should be filled or leveled with a suitable compatible repair material before coating.
The aim is to create a consistent base for the decorative layer. Avoid leaving ridges of repair material along the joints, since raised repairs can also affect the result.
Allow repairs to reach the required condition before applying the flooring system. Confirm repair-material compatibility and timing with the supplier.
Existing condition | Preparation priority |
|---|---|
Firm, near-flush grout | Inspect, clean, and confirm surface suitability |
Deep or recessed joints | Fill and level where needed |
Loose or deteriorated grout | Remove unsound material and repair |
Raised tile edges | Assess and correct the irregularity appropriately |
Loose or unstable tiles | Resolve the substrate problem before coating |
For related preparation questions, see How to Repair Cracks and Surface Defects Before Epoxy Color Sand Flooring.
Does Self-Leveling Material Automatically Hide Every Joint?
No. Self-leveling describes how the mixed material flows and settles during application. It does not guarantee that every underlying defect will disappear.
JUKE uses a two-component system with factory-proportioned Part A and Part B. After mixing according to the supplied instructions, the installer pours the material, spreads it evenly with a suitable notched trowel, and allows it to self-level.
The installer still needs to control distribution and maintain a continuous application. Stretching the material too far can produce an uneven result.
A standard 20 kg set covers approximately 10 m² under normal application conditions. Actual consumption varies with surface flatness, application technique, and material loss. Plan repair work separately rather than relying on the decorative layer to fill substantial depressions.
Treat Movement Joints Separately
A normal grout joint between stable tiles is not the same as an expansion or movement joint.
Movement joints accommodate movement in the floor assembly. Do not assume they can be filled and coated like ordinary recessed grout lines.
JUKE’s technical guidance states that the system should not be used to bridge active movement. Existing movement joints and recurring cracks therefore need a suitable project-specific approach before installation.
A continuous decorative appearance must not take priority over the floor’s movement requirements.
Use a Trial Area to Check the Result
Before coating a larger floor, prepare a representative trial area that includes several tiles and grout joints. Testing only the middle of one tile will not show how the system performs across the joint pattern.
Use the intended preparation method and material consumption. Once adequately cured, inspect the area under both normal room lighting and light coming from the side.
Look for depressions, raised edges, visible repairs, bubbles, and other surface irregularities. If the original tile grid remains noticeable, investigate the preparation and application before continuing.
Keep photos and notes so the approved trial provides a reference for the larger installation.
Frequently Asked Questions
Can I leave all the existing grout untouched?
Only where its condition is suitable. Loose, contaminated, damaged, or deeply recessed joints need appropriate attention before coating.
Will primer fill recessed grout lines?
Do not treat primer as a substitute for repair material. Suitable JUKE tile applications generally need no primer, but defects still require preparation.
Can I apply a thicker layer instead of repairing the joints?
Do not rely on extra thickness to solve an unsuitable base. Repair pronounced irregularities first and confirm the application through a representative trial.
Does concrete follow the same preparation process?
No. Concrete requires its own preparation route and a compatible primer. Uneven or damaged areas should be repaired and leveled first.
Help Customers Achieve a Consistent Finish
For flooring distributors and tile suppliers, the clearest message is that zero-demolition renovation begins with a suitable existing floor. Joint preparation and controlled application help turn that advantage into a consistent finished result.
JUKE provides factory-direct supply, OEM options, marketing support, and a low MOQ of 36 sets.